How to Digiscope with an iPhone?
Share
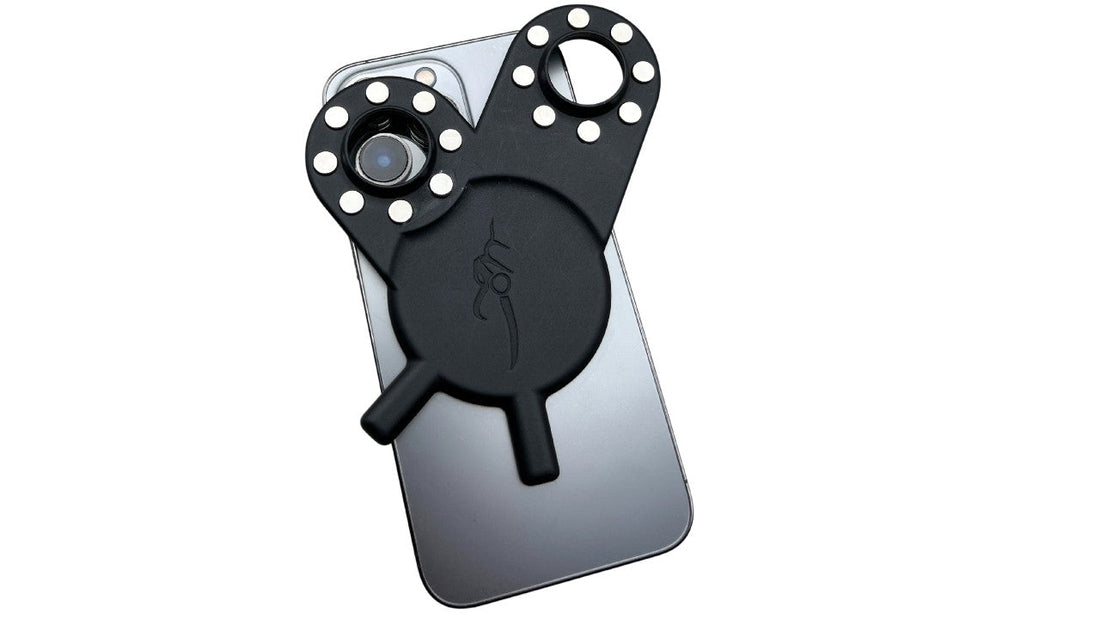
So, you’ve just bought your new Mountain Mag Digiscope and you want to see what it is capable of. You rotate the Mountain Mag Digiscope to align with your phone’s zoom lens, attach it to the Mountain Mag piece on your optic, and open the camera app. But wait—your screen is black and out of focus!
Unfortunately, the default iPhone camera app tries to “intelligently” switch between camera lenses, making digiscoping a bit tricky. Here are two solutions to resolve this issue and get your digiscoping setup working smoothly:
-
Configure the Default Camera App Settings
To prevent your camera from automatically switching lenses while recording, go to Settings > Record Video and enable the “Lock Camera” setting. This ensures your phone will stay on the lens you select, making for a more consistent digiscoping experience. -
Lock the focus on the Default Camera App
Make the adapter is not on your phone. Open your default camera app and switch to use the lens you would like to digiscope through. Then long press in the center of your screen until you see AE/AF LOCK. You can now put the adapter on your phone, target the correct lens, and start digiscoping. -
Download Apple’s Final Cut Camera App
Apple recently released a pro-level camera app that allows users more granular control over the lens selection. To get the Final Cut camera app, go to the App Store and search for "Final Cut Camera." Once downloaded, you’ll be able to select the specific lens you want to use for digiscoping, eliminating the need to battle with automatic switching.
That’s all it takes! If you have any questions or concerns, feel free to reach out to us at support@epochoutdoors.com.
For a visual tutorial of how to use the default camera app on your iPhone, watch this video:
